
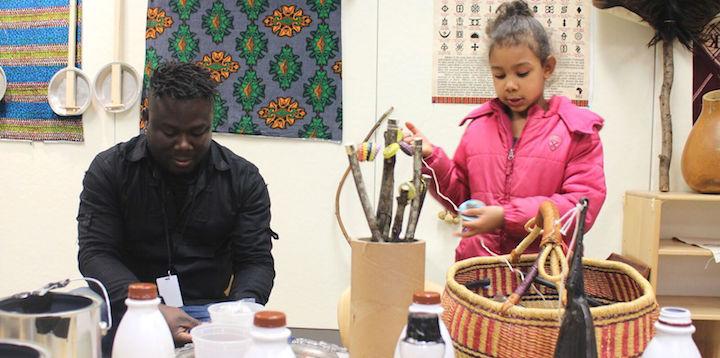
Little kids love making music and art — so visiting artist Okaidja Afroso thought he’d combine the two during his recent stint as an artist-in-residence at Portland Children’s Museum. Though he has lived in Portland for years, Afroso drew inspiration from his own childhood in Ghana to create traditional drums and shakers, as well as creative instruments made from natural and recycled materials. The children made a wide range of wonderful creations, from flutes that were also shakers to boards that clicked together, rattles, and drums made from tins and cups.
With a little imagination and experimentation, anything is possible. After constructing these instruments made from household items, ask your kids questions about them. What do you notice? What sounds interesting to you? What works well? What could we do to make it even better?

BOTTLE RATTLE
For a variation, try filling a different container with the same filling or try using different fillings like bells, seeds or marbles.
- Clean plastic bottle with cap
- Beans or pebbles
- Low-temp hot glue gun
- Low-temp hot glue sticks
Instructions
1. Put the beans or pebbles in the bottle.
2. With help as needed from grown-ups, squirt hot
glue inside the cap and around the rim of the bottle. Carefully screw cap back on. Allow to cool and make sure cap is secured firmly.
3. Shake and play!
TAPE DRUM
- Metal tin, such as a paint, coffee or cookie tin
- Packing tape
Instructions
1. Tightly stretch the packing tape over the opening of the metal tin.
2. Decorate.
3. Play!
BOTTLE-CAP SHAKER
- 5-10 metal bottle caps
- Hammer and nail
- Work surface for hammering
- Thin, bendable wire
- Thick scrap wood works well
- Y-shaped stick
Instructions
1. Place metal bottle caps top down on your hammer work surface. Using a nail, hammer, and a safe hammering technique, pound the nail just through the metal cap to create a small hole. Repeat with each cap
2. Thread the wire through all of the holes in the caps. Be careful of sharp edges.
3. Tightly wrap one side of the wire around one side of the “Y” stick. Then repeat with the other side of the wire on the other side of the “Y.”
4. Play! For variations, try using fishing line instead of wire, plastic bottle caps instead of metal, or a C-shaped stick.

- Make ’N Shake: Musical Instruments - April 27, 2017
- I Spy - February 17, 2017
- Itsy Bitsy Gardens - August 24, 2016