
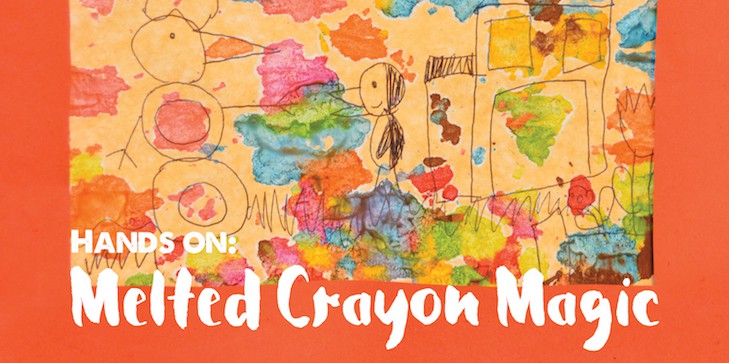
Add a little heat to transform all those broken bits of crayon into mini-masterpieces.
The amount of broken crayons rolling around my house (and, I’m guessing, yours) is staggering. Wanting a way to put them to good use, I recently started playing around with melting crayon shavings onto paper. My daughter, who loves an art project as much as I do, added her own flair to the project by drawing with her preferred medium — black ballpoint pen — on the paper before adding the crayon bits. The melted crayons spread quite a bit, so small amounts go a long way. And the effect is surprisingly beautiful. Hung up on a window, they resemble stained-glass. Small kids will be quite mesmerized by the almost magical way their crayon bits transform. I also love that this project not only uses sad stubs of crayons, but gives them new life by getting their ends sharp and ready for your child’s next burst of creativity.
MATERIALS

Construction paper, white and another color
Pencil
Ruler
Scissors, or craft knife and cutting mat
Black ink pen (optional)

Crayons
Pencil or crayon sharpener
Old dish towels or other fabric
Ironing board
Iron
Extra-fine glitter (optional)
Tape
DIRECTIONS
1. Use the ruler and pencil to draw a 2-inch border onto the colored construction paper.
2. Make the colored construction paper into a frame by using scissors or a craft knife and cutting mat (for grown-ups only) to cut out the rectangle in the center of the paper.
3. Fold the white construction paper in half and then let your child draw a picture with the black ink pen on the bottom half of the paper. Or, if your child prefers a more abstract look, go straight to the next step.
4. Use the pencil sharpener to make different colored crayon shavings. Keep the colors in their own piles. Pro tip: Crayons are easier to shave in a larger sharpener opening.
5. Place an old dish towel on an ironing board to keep the board’s surface from getting coated in melted crayon. Heat the iron to medium, making sure to keep it and the cord out of reach of younger children. Place the white construction paper on the dish towel and let your child sprinkle the crayon shavings on the paper as they choose. Pro tip: Use a toothpick if they want to get crayon bits in a specific spot. Sprinkle lightly with extra-fine glitter, if you wish (or if you dare).
6. Carefully fold the top of the paper down on the crayon shavings and then place a second dish towel on top. A grown-up should lightly move the iron over the surface of the towel for about 15 seconds. Remove the towel to see if the crayons have melted. If not, cover and iron for a few seconds more. Remove the towel, wait a few seconds, then carefully lift the top flap of the paper completely up. Allow to cool for a few minutes, then cut the paper at the fold.
7. Tape the art to the back of the frame and you are done!

- Where to Get Our Favorite Chopped Sandwich in Portland - March 10, 2024
- 6 New Portland Summer Camps - March 7, 2024
- Get Serious Air at This Indoor Portland Park - February 19, 2024